
Note: This webpage is outdated.
The documention, how to use Netbeans and modify its build.xml file is kept here only for historical reasons. ImageJ evolved over the years to ImageJ2 which uses beautiful tools like Git and Maven. The learning curve to master these tools is steep, however. Therefore I summized my experiences during the learning phase for beginners at the ImageJ2 web representation:
<a href= “http://imagej.net/2016–04–19_-_Writing_ImageJ2_Plugins:_A_Beginner%27s_Perspective”>imagej.net > News: 2016–04–19 - Writing ImageJ2 Plugins: A Beginner’s Perspective
Howto Setup Netbeans 6.7 for Debugging ImageJ Plugins
There are several tutorials available, which explain how to set up the “ImageJ”-project for debugging of plugins:
<a href=
“http://rsb.info.nih.gov/ij/developer/NBTutorial.html”>http://rsb.info.nih.gov/ij/developer/NBTutorial.html
<a href=
“http://imagejdocu.tudor.lu/doku.php?id=howto:plugins:the_imagej_eclipse_howto”>
http://imagejdocu.tudor.lu/doku.php?id=howto:plugins:the_imagej_eclipse_howto
<a href=
“http://imagejdocu.tudor.lu/doku.php?id=howto:plugins:the_imagej_netbeans_howto”>
http://imagejdocu.tudor.lu/doku.php?id=howto:plugins:the_imagej_netbeans_howto
All those methods worked, but I wasted time during my learning process, how to edit the “build.xml” file for the different methods.
I decided to summarize my understanding of the compile and debug sequence to develop my own plugins and started from scratch with the defaults of Netbeans 6.7. The reason why I preferred Netbeans to Eclipse is the well integrated GUI Builder of Netbeans.
It was my intention to collect each of my different plugins in a single jar file. To achieve this, I make a separate Netbeans-project for each plugin and also for ImageJ itself.
Netbeans makes a nice and logical directory structure. Therefore I accepted started to make my project without the build.xml file which is part of the ImageJ distribution.
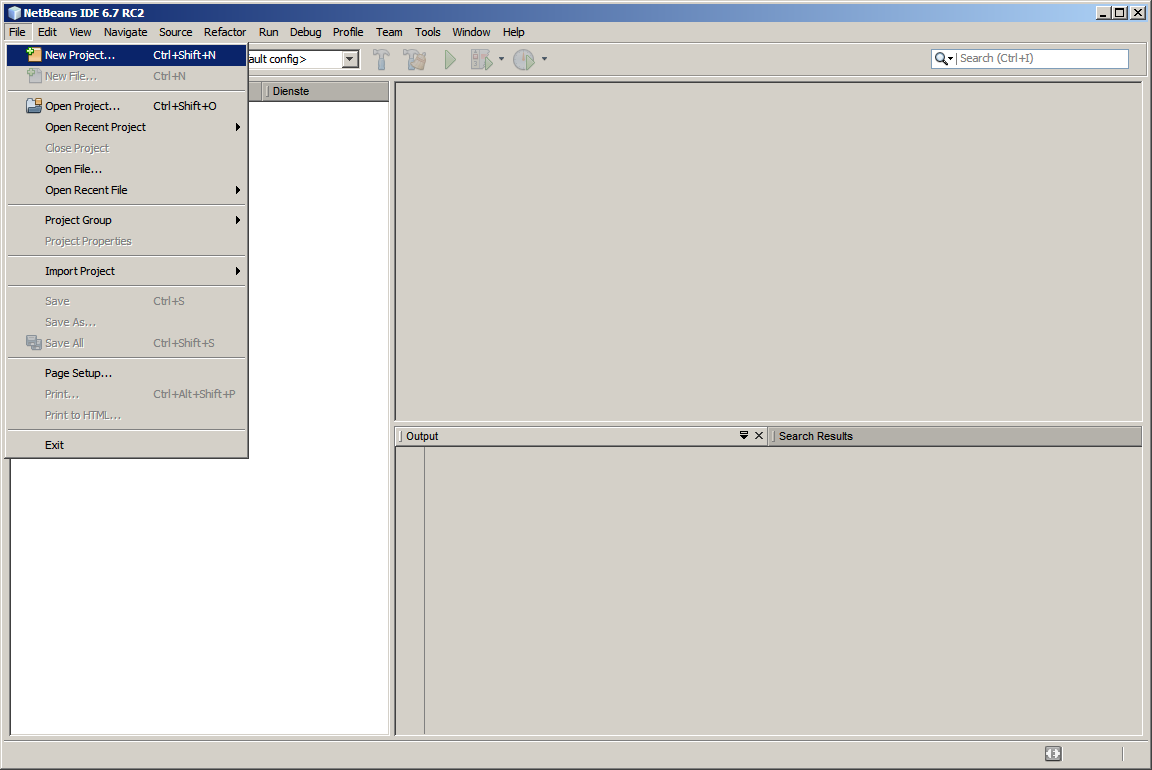
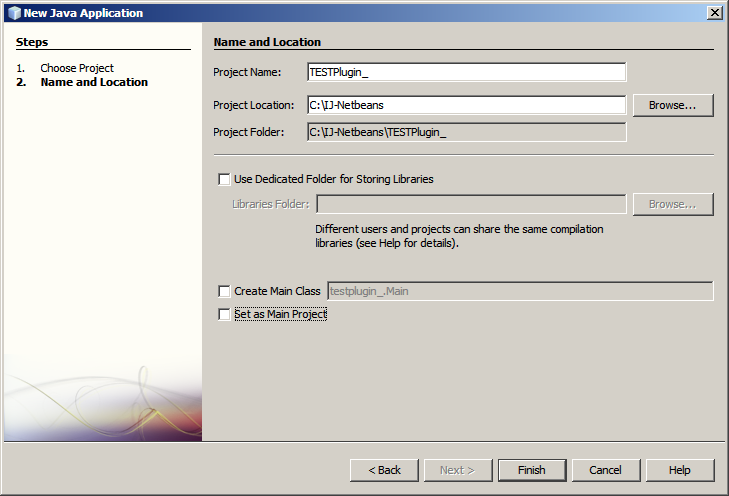
File -> New Project
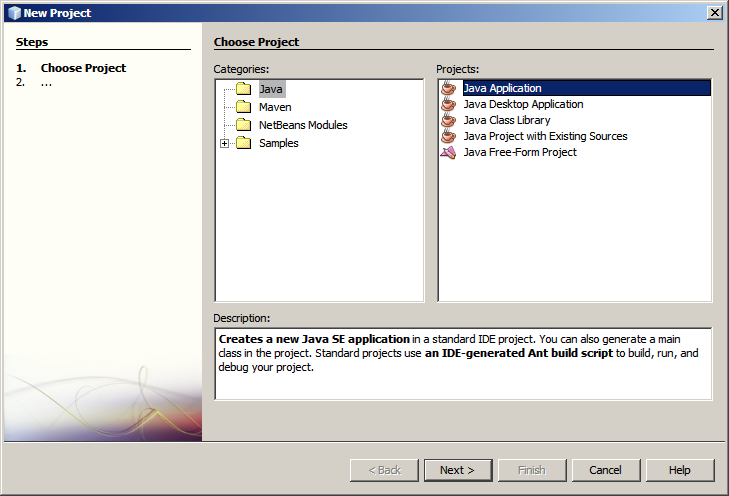
Select: “Java Application” and give this project the name “IJ” (as my suggestion).
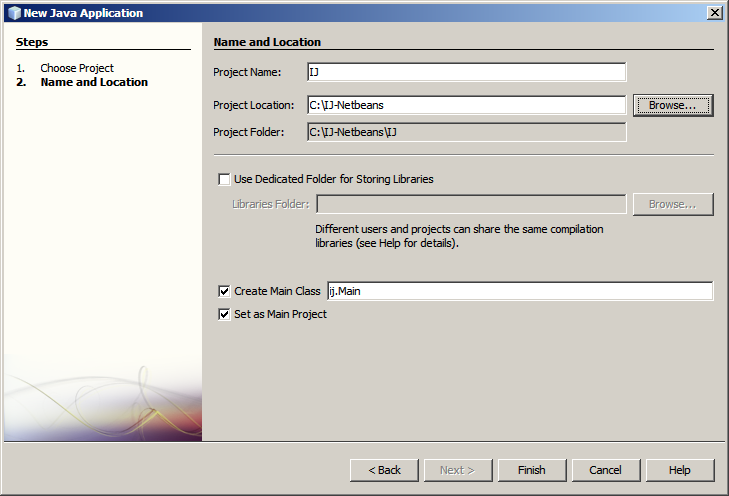
In this screenshot the option “Create Main Class” is checked. Later I realized that it is better to uncheck it. Therefore: save yourself some time and uncheck it here!
The next step is to download the latest version of ImageJ from here: <a href= “http://rsbweb.nih.gov/ij/download/src/”>http://rsbweb.nih.gov/ij/download/src/
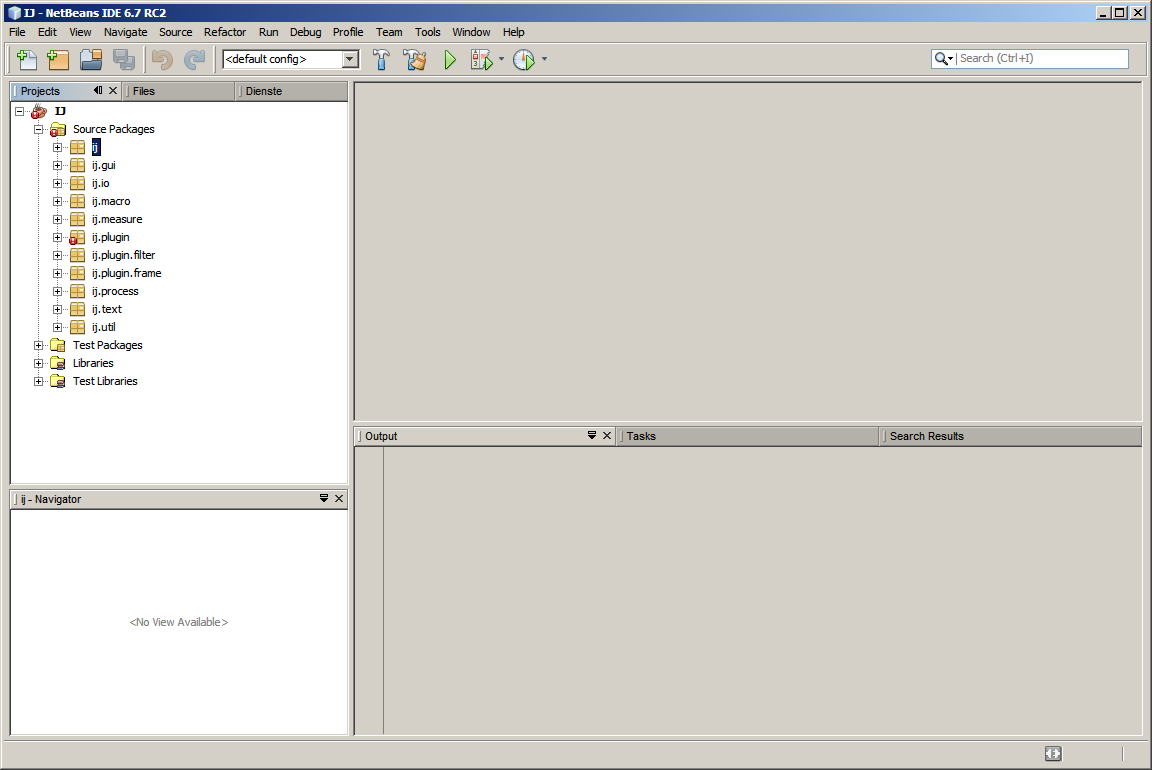
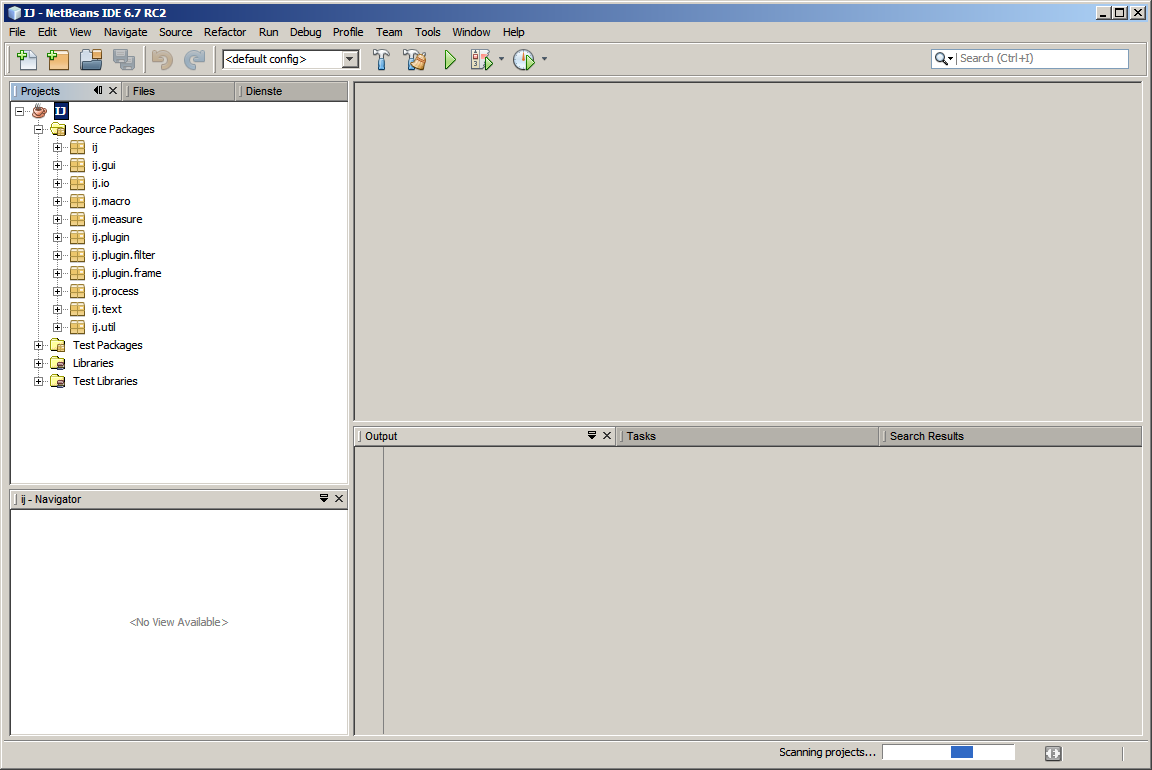
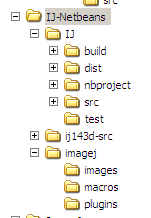
Extract the zip file and copy the folder “ij” into the directory: ./IJ/src
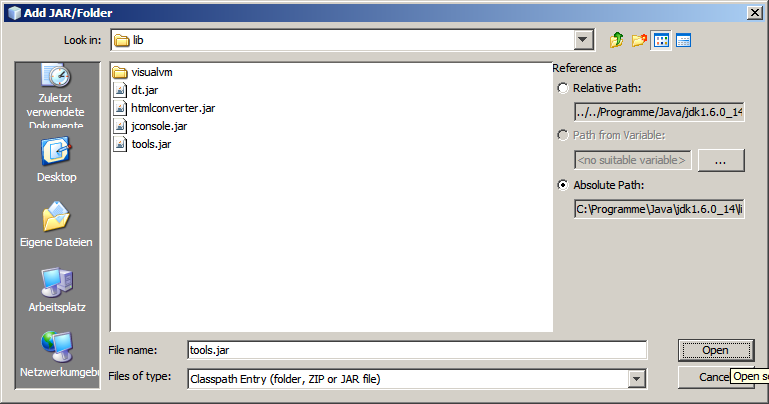
You will see some red exclamation marks, because ImageJ is missing the libray “tools.jar” which is part of the Java Standard Edition (Java SE / JDK) development kit.
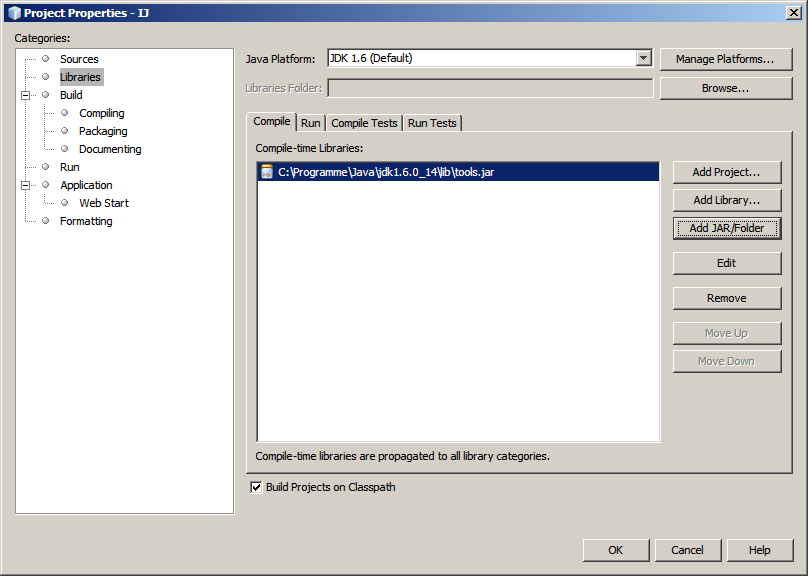
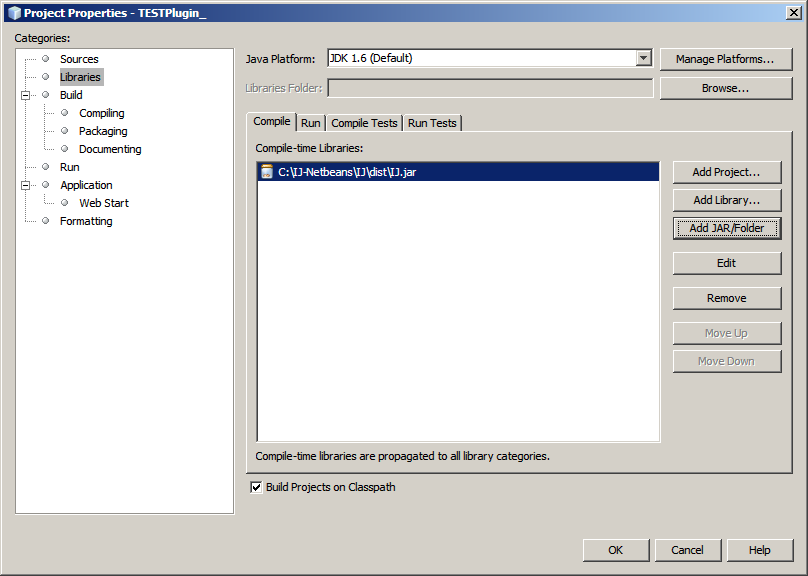
Add the missing library, it is “tools.jar” which is needed by the built-in compiler in compile.java (right click in the Project view on IJ and select “Properties”).
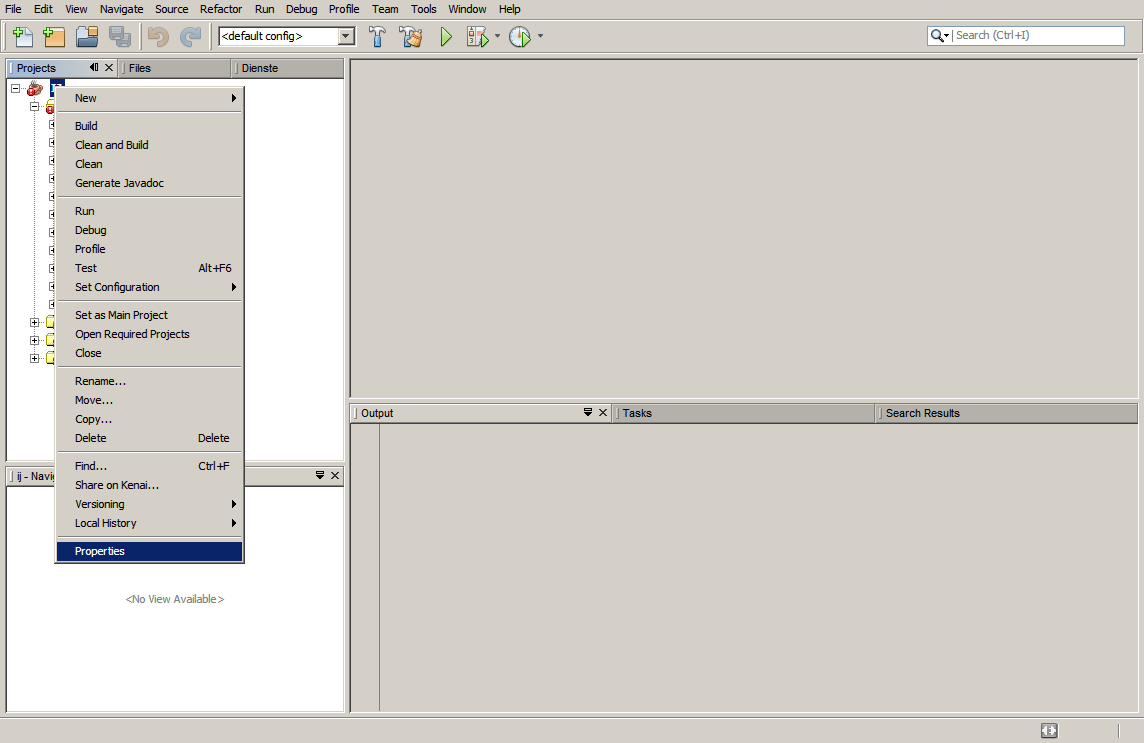

Select “Libraries” (left side) and “Add Library” (right side) of the screen shot.
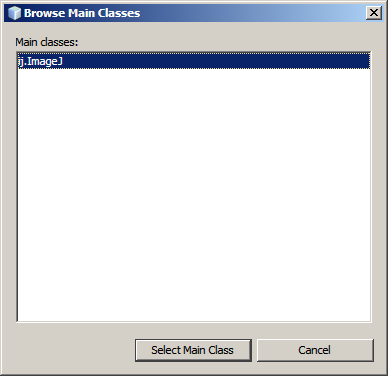
You have to correct the main class as your next step, depending which option you accepted during the “New Project” step. The main class of ImageJ is ij:Imagej. Replace “ij.Main” with ij.ImageJ or just enter ij.ImageJ to the line “Main Class”.
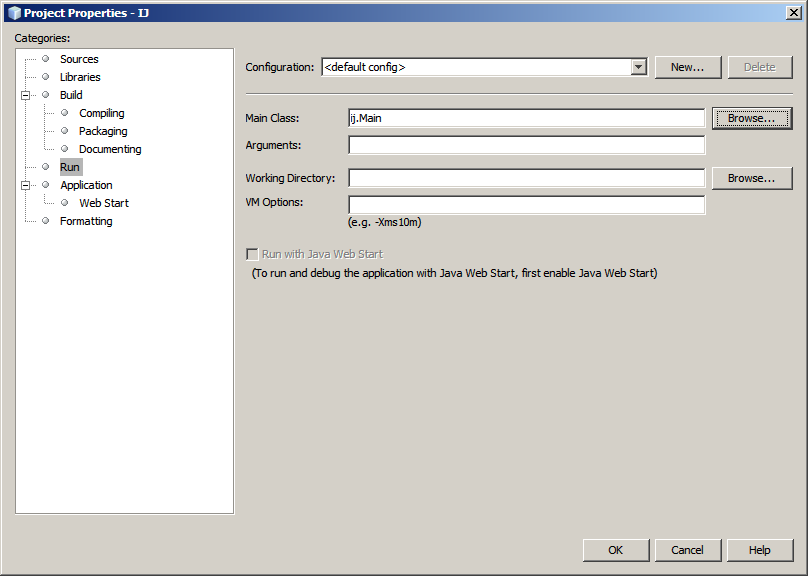
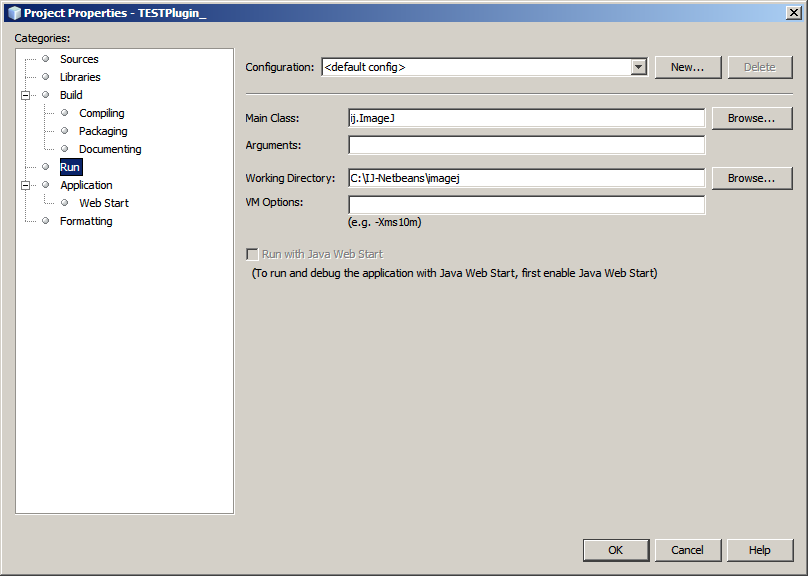
To facilitate debugging AND using ImageJ at the same time I decided to make a separate directory where I collect the jar files for my plugins (separate from the source and build files) and where I can use ImageJ for daily use, too. This directory is set as the “Working Directory” in the Project Properties.
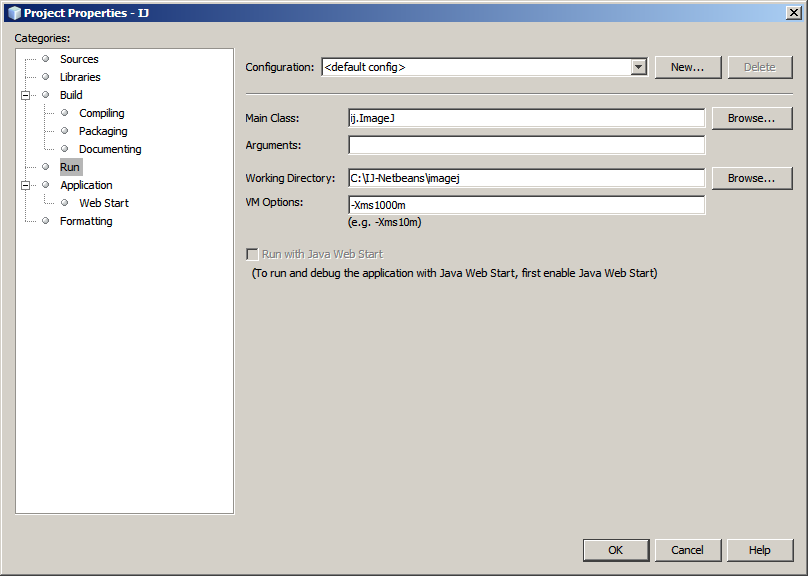
As you can see, my IJ-Netbeans folder contains the directory “imagej” where I copied from the ImageJ source distribution the folders images, macros and plugins. In addition all other files except the build.xml-file and the source directory were copied to this folder, too.
At this stage you can compile and run ImageJ.
The next step can be repeated again and again for each new plugin you plan to develop. As most steps are identical with the setup of ImageJ, I show you the screen shots without any comments.
I used the sample plugin, which was suggested already here: <a href= “http://imagejdocu.tudor.lu/doku.php?id=howto:plugins:the_imagej_eclipse_howto”> http://imagejdocu.tudor.lu/doku.php?id=howto:plugins:the_imagej_eclipse_howto
importij.IJ;
importij.plugin.PlugIn;
publicclass TestPlugin_ implements PlugIn {
public void run( arg) {
IJ.error("Helloworld!");
}
}
<a href=
“http://imagejdocu.tudor.lu/lib/exe/detail.php?id=howto%3Aplugins%3Athe_imagej_eclipse_howto&media=howto:plugins:eclipse_tut_10.png”
target=“_blank”>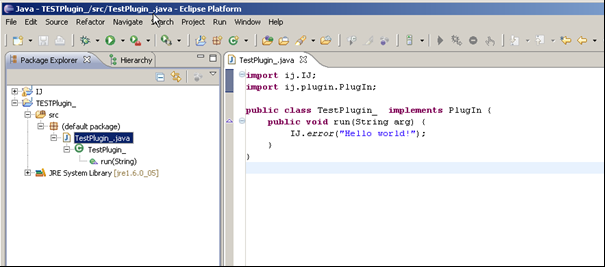
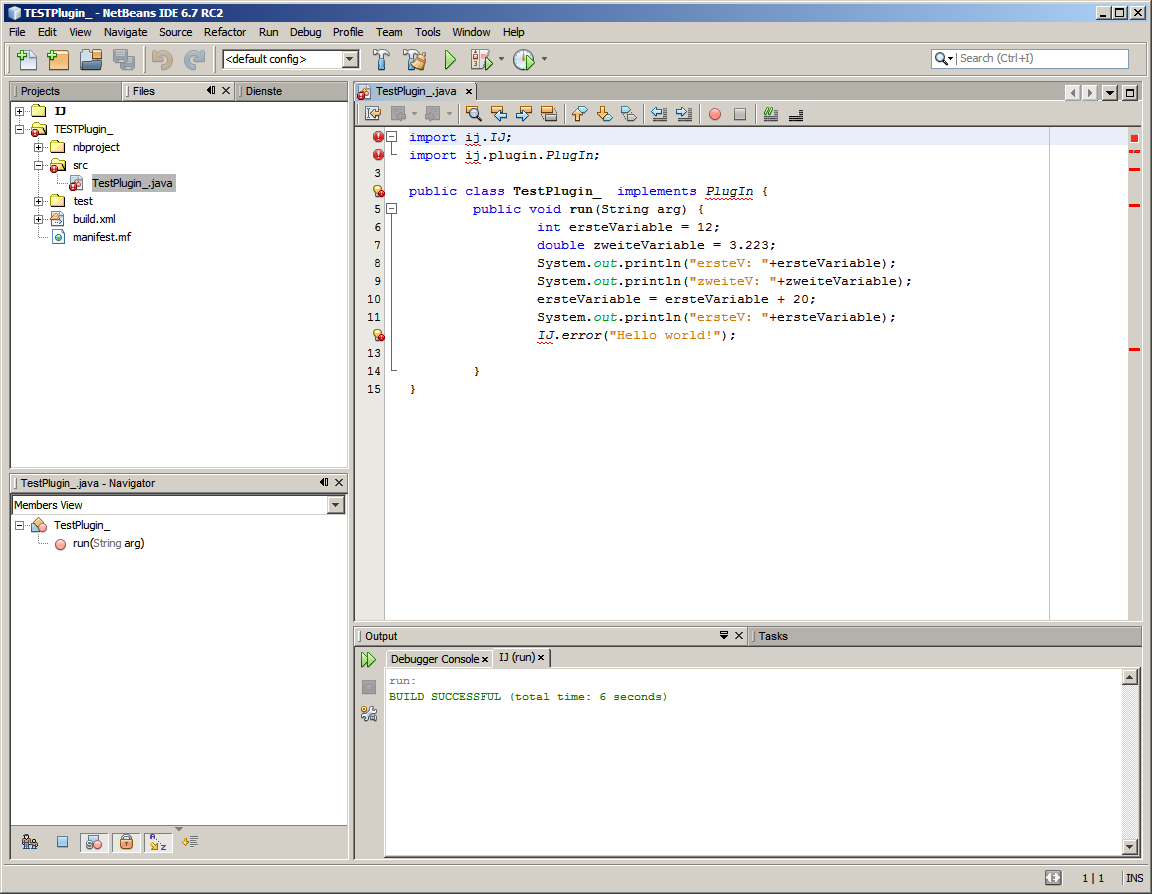
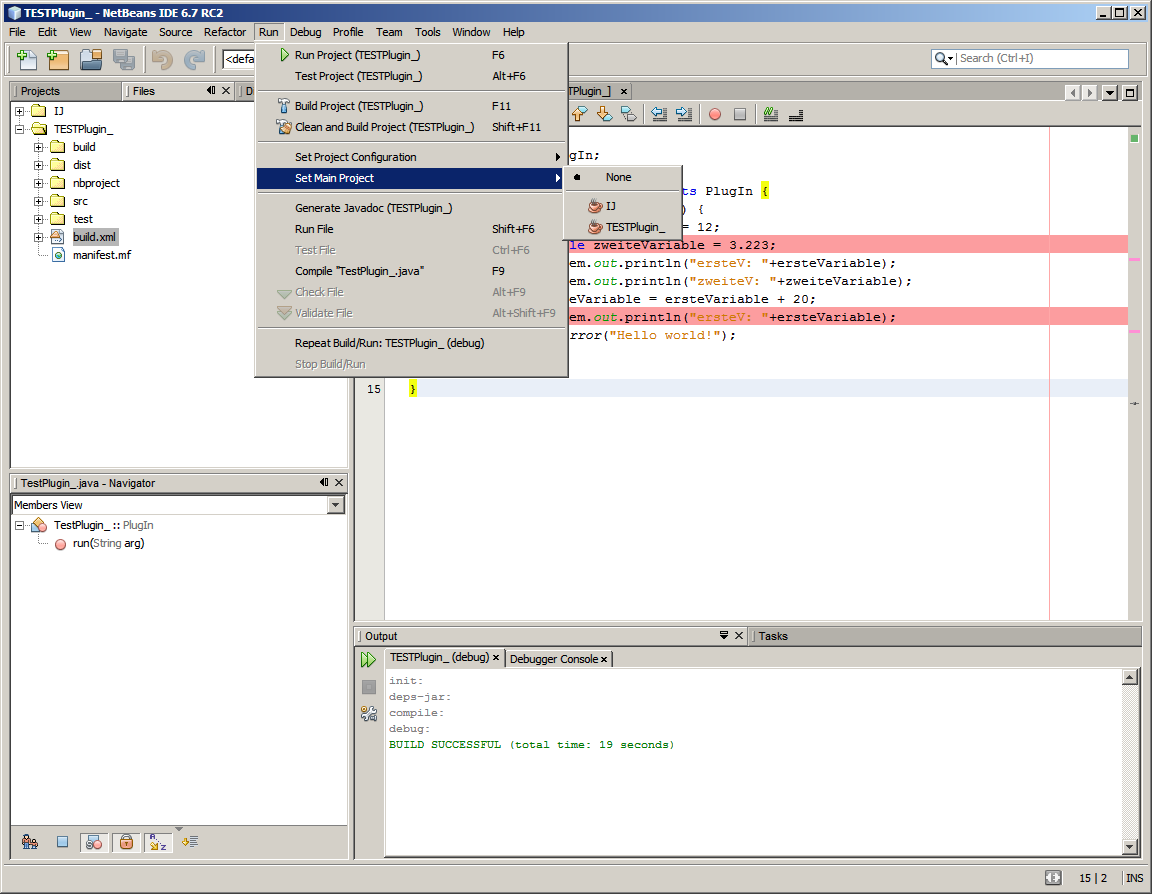
I added a few nonsense lines (#6, #7 and #10), because I wanted to watch the variables change in the debugger later.
Plugins usually have not main method. Therefore we have to point the “Project Properties” to the main method of ImageJ. In addition with have to add IJ.jar as a library for the plugin.

In my case I like to have control over my workflow, therefore I deactivated “Compile on Save”. I have read in comments of the default build.xml file that this option changes how Netbeans evaluates user modified build.xml files.
Citation from build.xml:
“By default, only the Clean and Build commands use this build script.
Commands such as Run, Debug, and Test only use this build script if
the Compile on Save feature is turned off for the project.
You can turn off the Compile on Save (or Deploy on Save) setting
in the project’s Project Properties dialog box.”

I do not know whether it is necessary to add the working directory in the RUN category for a plugins, too. It had no negative effect, however.
Uncheck the Main Project (Set Main Project to “None”) and then you can decide which project is built, run or debugged.
On thing which cost me quite some time to figure out is how to debug plugins, because of ImageJ’s mechanism to look for plugins. They have to be present in the plugins directory at the startup of ImageJ. To solve this problem, I added a few lines to the file build.xml which copy the jar file, containing the plugin into the plugins directory of ImageJ.
In addition, I include the file plugins.config to the jar file. This allows to configure in which menu or submenu the plugin appears. The documentation can be found here:
Documentation:
http://rsbweb.nih.gov/ij/plugins/jar-demo.html
"Plugins can be installed in the File>Import, File>Save As, Edit>Options, Analyze>Tools, Help>About Plugins and Plugins menu and submenus. If Plugins>Submenu is specified, the command will installed in the submenu of the Plugins manu named Submenu. If this submenu does not exist, it is created. If Plugins is specified, the command will be installed in the submenu of the Plugins menu that corresponds to the directory containing the JAR file. For example, if the JAR file is in ImageJ/plugins/jars, the command will be installed in “Plugins>jars”.

Click here to get the build.xml file.